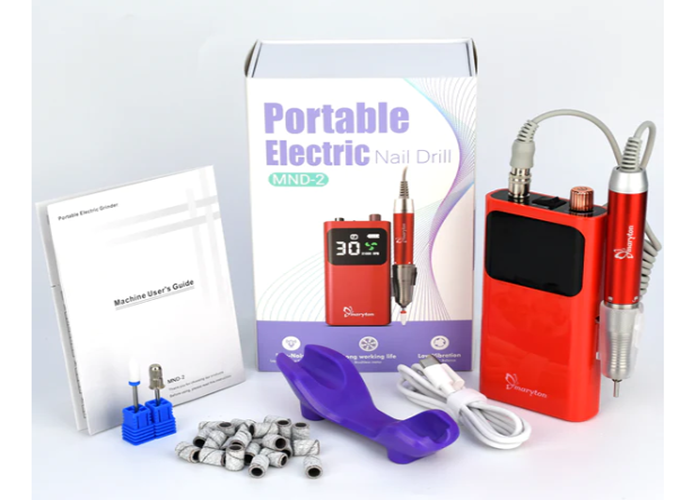
The professional nail drill is an electric device with several tips. It allows you to sculpt, polish, sand and shine the nails. Both nail technicians and beginners can acquire a nail grinder to work their nails more easily and efficiently. Today, this article will reveal the steps for using a professional nail drill machine to you.
Here are steps for using a professional nail drill:
Step 1: Set the rotation speed
Before turning on your electric nail drill, the first thing to do is to set the speed of rotation. It is essential to start with a rotation speed that is not too high to avoid damaging the nails. The increase in speed should be gradual. Also, make sure your hands are dry when you start.
Step 2: Remove cuticles and dead skin
If your nail drill has a cuticle attachment, use it to push back the cuticles on your nails. You can then use a sanding tip to loosen the dead skin.
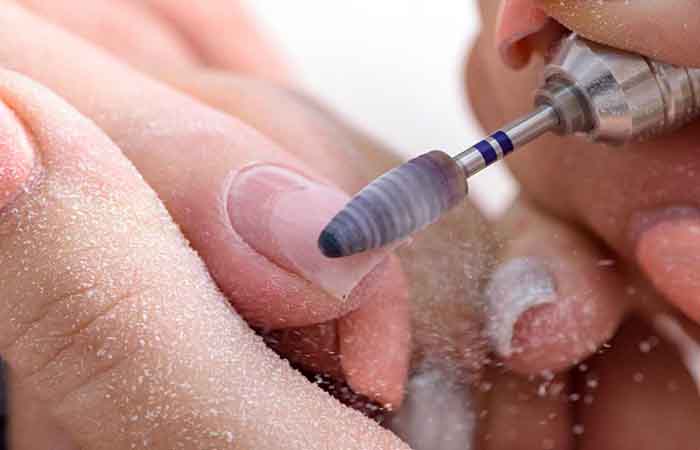
Step 3: Work the nail
Once the speed is set, you can start your sander and put it on your nail. Move it from left to right and up and down to work the entire surface of the nail well and not to put too much emphasis on a single area. Be sure to maintain a stable position throughout the process.
Step 4: Finalize the job
Once the previous steps have been completed, you can directly polish your nail using the appropriate tip or file your nail to sculpt its shape. Then apply a treatment to your nails to keep them healthy.
Read also: Which Nail Shape Suits You Best?


