
In order for you to have perfect poly gel nails, we will give a step-by-step guide on how to apply polygel for flawless results in this article. Just keep reading!
Here are the steps:
Step 1: Nail Preparation
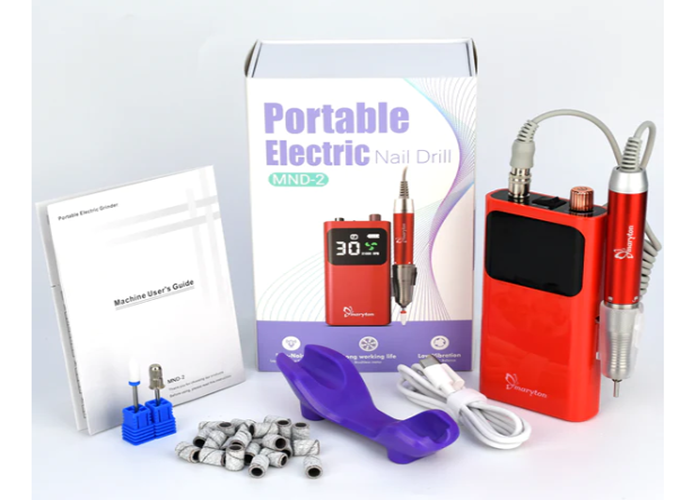
Start by cleaning and disinfecting your natural nails. Gently push back the cuticles with a wooden stick. Lightly buff the nail surface with an electric nail drill to create a rough texture that promotes adhesion of the polygel.
Step 2: Preparing the polygel
Select the polygel color and texture of your choice. Take a small amount of polygel using a specific brush. Apply a drop of polygel solution to a work tile or glass palette for easier handling.
Step 3: Applying the polygel
Use the brush to spread a thin layer of polygel over the natural nail, making sure to cover the entire surface. Place the moistened brush in a special solution to facilitate manipulation and smooth the polygel on the nail. Work quickly to mold and expand the polygel into the desired shape. Make sure it is well distributed over the entire surface of the nail.
Step 4: Polygel Catalysis
Place your nails under a UV or LED lamp to catalyze the polygel. The catalysis time usually between 30 and 60 seconds. Be sure to catalyze each layer of polygel applied, if applying in multiple layers.
Step 5: Finishing and Shaping
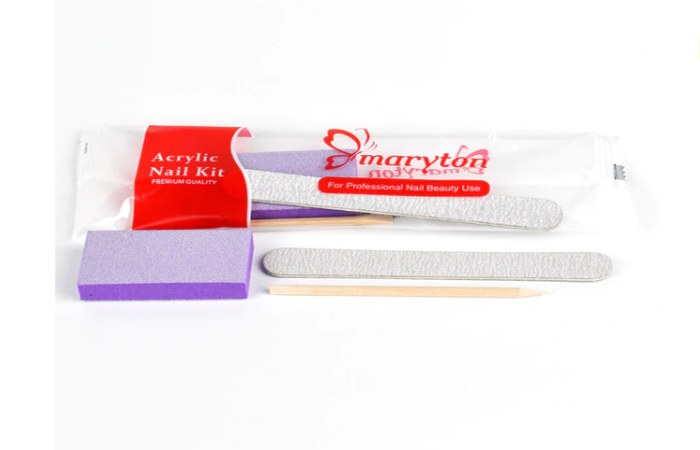
Once the polygel has catalyzed, remove your nails from the lamp. Use a nail file to shape and refine the shape of the nail according to your preference. Gently smooth the nail surface with a buffing block to remove imperfections and achieve a smooth finish.
Read also: How Long Does UV Lamp Take Dry Nails?


