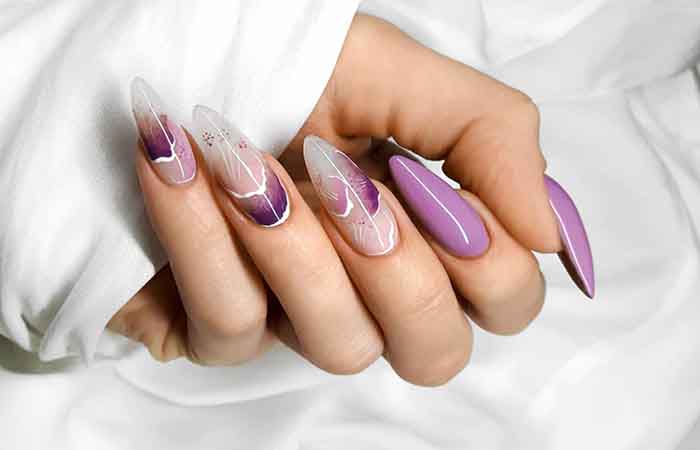
The application of the polygel is done like the application of semi-permanent varnish. Except that the technique here is faster. In this article, your nail supply expert Maryton will tell you how to properly apply the polygel.
Prepare the nails
The first step is to prepare your nails:
- Wash and disinfect the nails, especially if they are bitten.
- Push back the cuticles with the help of a cuticle pusher.
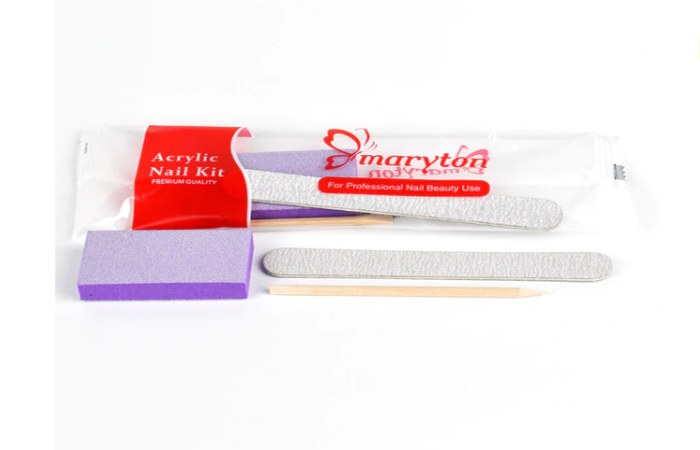
- File the nail to obtain the desired shape and polish the surface of the nails with a buffing block, so as not to damage the nails.
- Dust the nail before disinfecting again.
Application of acrylic gel
To start, you must first choose the size of capsules adapted to your nails. Then apply a base coat on your nails and run them under the UV or LED lamp for 30 seconds to 3 minutes. Thereafter, take a small paste of gel that you will place on the capsules. Apply it well with the brush, so as to have a capsule with the desired shape.
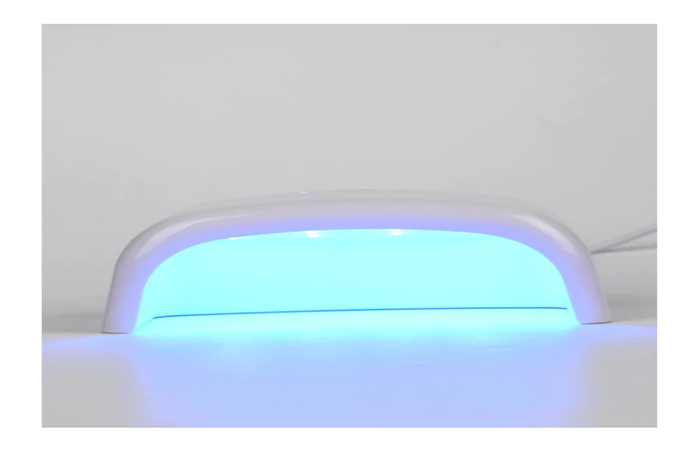
Place the capsules on the nails, making sure they don’t protrude over the edges. Press lightly so that the product adheres perfectly to the nails. After then, catalyze for 30 seconds under UV lamp. Once the set hardens, remove the capsules and file the edges of the varnished nails to have the perfect length and shape.
The finishing step
You can choose to apply traditional nail polish or semi-permanent. You can also put on top coat to ensure shine and hold the nail polish for a long time.
OK! I believe you have know how to properly apply the polygel. In addition, I advise you to invest in a complete professional manicure kit to care for your nails!
Read also: What Are The Advantages Of Polygel?


