Japanese manicure is not a revolutionary nail art technique, but rather a rest therapy for your nails! You can easily achieve it in 4 steps. In this article, Maryton nail supply will give you ideas.
The Japanese manicure takes place in 4 stages:
First of all, as with any manicure, the cuticles are hydrated, pushed back and the nails filed. Next, the hands are massaged with a moisturizer to boost blood circulation.
Using a three-sided polisher, the beautician will finally move on to the technique itself.
Using the most abrasive side, it cleans the nails. This step removes dead skin and opens the nail scales. Thus, they are ready to receive care and benefit optimally from it.
For the second part of the Japanese manicure, she applies nail paste using the softer side of the buffer. This paste is rich in active ingredients, fills in streaks and provides intense nutrition. It’s the secret to having beautiful natural nails.
Finally, using a small brush, she deposits a powder rich in vitamin A and minerals on your nails. It is this step which will fix the shine, the one which makes the success of the Japanese manicure.
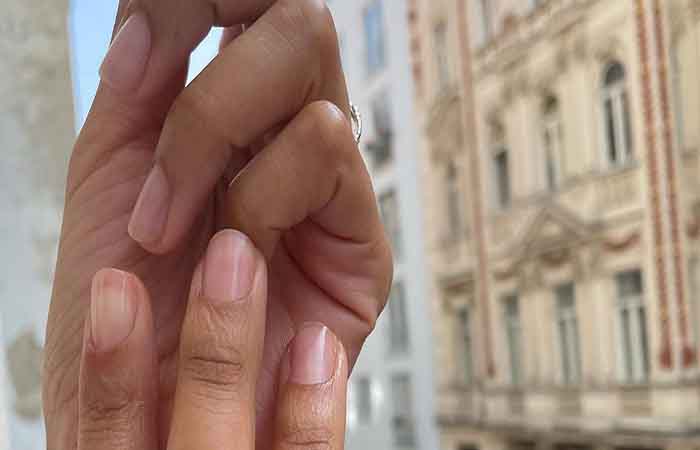
When you leave the salon, your nails will be so pink and luminous that no one will believe you’re not wearing nail polish!
Hoping that this article has pleased you and will give you ideas! In addition, I recommend investing in some professional manicure sets to care for your nails.
Read also: Caring For Your Nails After Removing Semi-Permanent Varnish


