As we all know, semi-permanent varnish guarantees you perfect nails for 3 weeks! But, not everyone can apply semi-permanent varnish well. In this article, Maryton Nail Supply will tell you how to apply your semi- permanent varnish. Just keep reading!
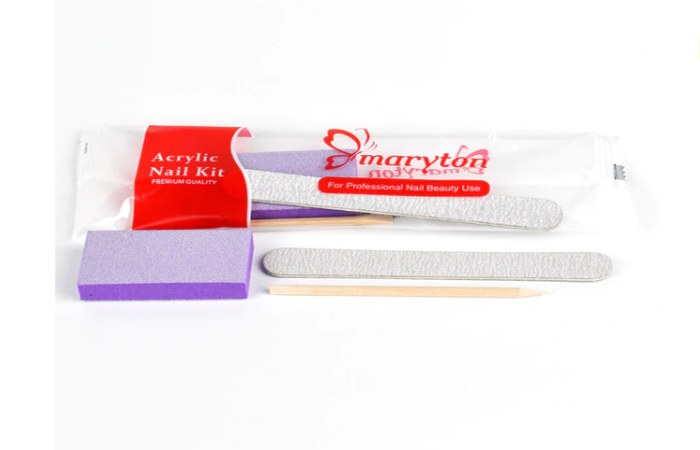
To apply semi-permanent varnish on natural nails you will need:
– A UV/LED lamp
– Soft file 180/240 grit
– A nail buffer
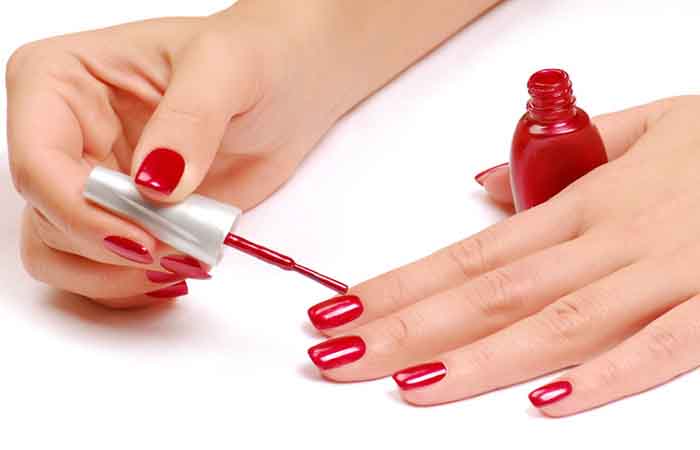
– Base coat
– The varnish color of your choice
– Top coat
1) Preparation of the natural nail
- File the shape of the nail with the 180/240 grit file
- Mattify the natural nail plate until no shiny part remains
- Dust the nails
2) Apply the adhesive base to the entire surface of the nail without touching the cuticles and cure under the lamp.
3) Apply the chosen color to the entire nail and cure under the lamp. To intensify the color you can repeat the step if necessary.
4) Apply a top coat to protect the application and obtain a shiny finish. Be careful not to touch the cuticles and cure for 1 minute under the lamp.
Hoping that this article has pleased you and will give you ideas! In addition, I recommend investing in some professional manicure sets to care for your nails in daily life.
Read also: What Are The Advantages Of American Gel X Installation?


