Thanks to the semi-permanent varnish, the nails will resist this long period of absence of manicure. Do you know how to apply semi-permanent varnish? This article will give you answers.
Here are the steps you must follow for a professional application of a semi-permanent varnish:
- Clean and file
First of all, it is necessary to thoroughly clean the hands of your clients with an antiseptic spray in order to avoid any risk of infection. Using a wooden stick, remove excess cuticles, apply oil to moisturize them.
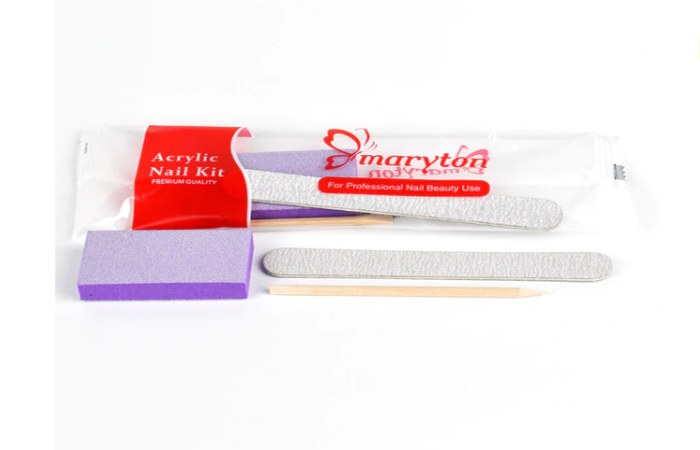
- Prepare the terrain
Don’t hesitate to polish the nails with a nail buffer block for greater adhesion. Then apply a base, make sure you don’t touch the cuticles when applying the varnish , let dry under a UV or LED lamp.
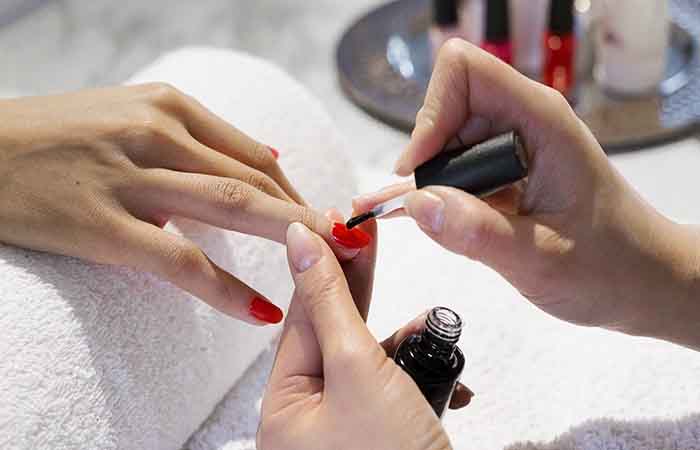
- Make way for color
Once the Base coat is dry, you can apply the color. Dry the first coat of color under the lamp, immediately after, apply a second coat and let it dry again under the lamp.
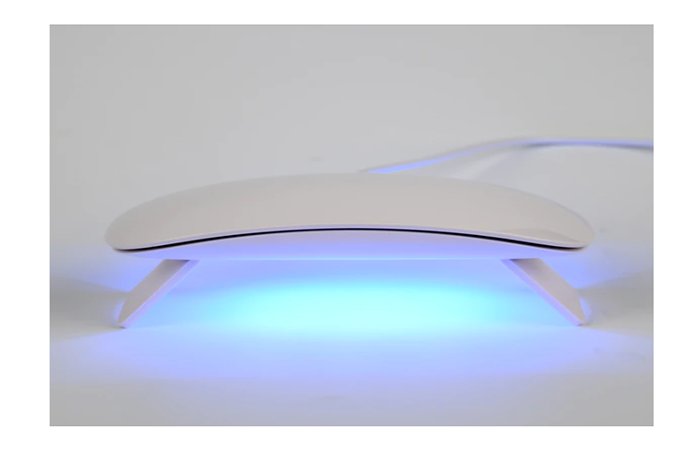
- The topcoat
A good finish allows the varnish to have a longer duration (between 3 and 4 weeks). Allow to dry under the light of the lamp.
If you want to buy any of manicure products, you can do so through our nail supply store online. Besides, in our e-Store you can find manicure kit you need for the realization of your professional manicures.
Read also: How to have perfect semi-permanent manicure?


